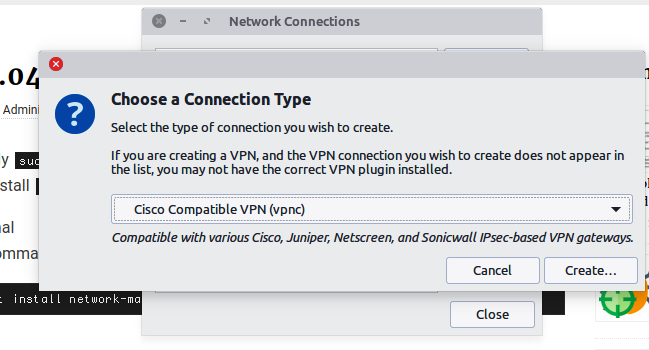
On Ubuntu 14.04 only sudo apt-get install network-manager-vpnc was working. But for Ubuntu 16.04 you need to install network-manager-vpnc-gnome as well.
Step 1: Open Terminal
Step 2: run below command to install the cisco client
sudo apt-get install network-manager-vpnc network-manager-vpnc-gnomeStep 3: Click on the “Network Icon” on toolbar, then click “Edit Connections”
Step 4: Click on “Add” Button
Step 5: Choose “Cisco Compatible VPN (vpnc)”, click on “Create”
Step 6: Fill the below details on VPN Tab
- Gateway: VPN IP 199.229.XXX.XXX
UserName - UserPassword
- GroupName
- GroupPassword
Step 7: Click on Save
VPN Setup has been completed.
To connect VPN, click on the Network Icon on toolbar. Click on VPN Connections. Choose the VPN which you have recently created.
Please make sure, you are on different network to connect VPN.